Are you wondering how to replace boat trailer lights? You’ve come to the right place! Whether you’re preparing for a fishing trip or a day on the water, having functioning trailer lights is essential for safety and visibility. In this article, we’ll guide you through the process step-by-step, so you can easily replace your boat trailer lights.
Why Replace Boat Trailer Lights?
Boat trailer lights serve more than just a decorative purpose. Understanding the necessity of these lights can motivate you to act quickly.
- Safety: Proper lighting ensures that other drivers see your trailer, especially in low-light conditions.
- Legal compliance: Most states require trailers to have specific lights, including brake lights, turn signals, and tail lights.
- Prevent accidents: Malfunctioning lights can lead to rear-end collisions or accidents on the road.
Now that we established the importance of trailer lights, let’s delve into how to replace boat trailer lights effectively.
What Tools and Supplies Do You Need?
Before starting the replacement process, gather these essential tools and supplies:
- New lights: Ensure you choose the correct type compatible with your trailer.
- Wrench or socket set: For removing bolts.
- Screwdriver: For easy access to light housing.
- Wire cutters and strippers: If you need to cut and strip wires.
- Electrical tape: For securing connections.
- Multimeter: To check connections and voltage.
- Safety goggles: Protect your eyes while working.
How Do You Identify the Problem?
Understanding what’s wrong with your existing lights allows you to address the issue more effectively. Follow these steps:
-
Visual Inspection: Check for broken or burnt-out bulbs.
-
Test the Lights: Use a multimeter to ensure that power is reaching the lights.
-
Examine the Wiring: Look for frayed wires or loose connections.
If you discover that the lights are faulty, it’s time to learn how to replace boat trailer lights.
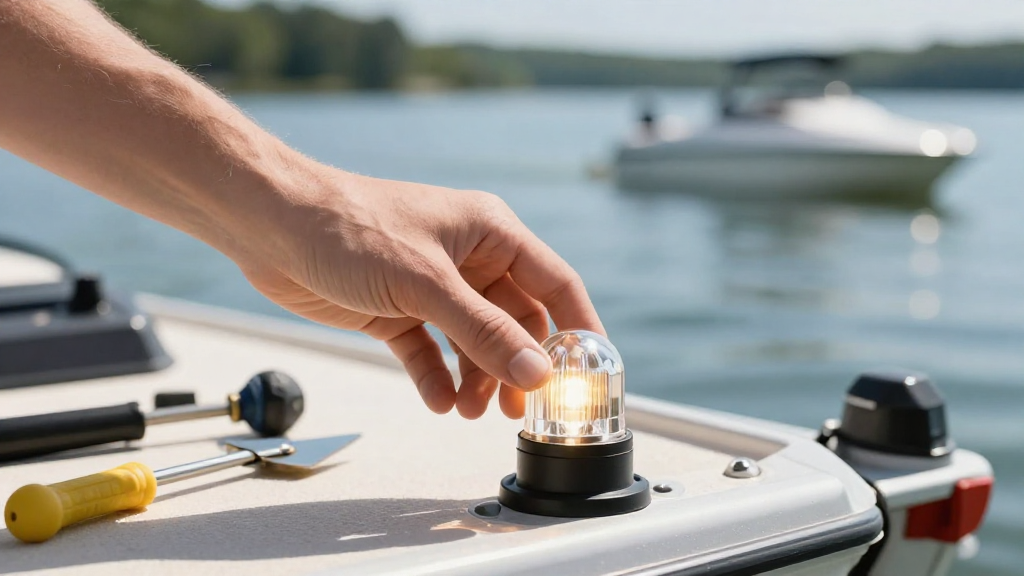
How to Replace Boat Trailer Lights: Step-by-Step Guide
Step 1: Remove the Old Lights
Begin the replacement process by removing the old lights from your boat trailer:
- Disconnect the trailer from the vehicle to ensure safety.
- Use a screwdriver to remove screws holding the light assembly in place.
- Pull the light assembly from the housing slowly. Be careful not to damage the wires.
Step 2: Disconnect the Wiring
Now that you’ve removed the light, it’s time to disconnect the wiring:
- Identify the wires coming from the light assembly.
- Use wire cutters to clip off the connection. If it’s a simple plug connection, unplug it.
Step 3: Install the New Lights
Follow these instructions to install the new lights:
-
Connect the wires: Match the color-coded wires from the new light assembly with the corresponding wires from the trailer. Common colors include:
– Brown or red (for the tail light)
– Yellow (for the left turn signal)
– Green (for the right turn signal)
– White (for the ground) -
Use wire strippers to expose around 1/2 inch of wire if necessary.
-
Secure the connections using electrical tape or wire nuts if available.
-
Insert the new light into the housing, ensuring it fits snugly.
Step 4: Secure the Lights
After installing, secure the new lights to the trailer:
- Replace the screws that held the old light assembly in place.
- Ensure everything is tightened appropriately to prevent movement.
Step 5: Test the New Lights
Before hitting the road, it’s crucial to ensure the new lights are functioning.
- Reconnect the trailer to your vehicle.
- Have a friend press the brake and activate the turn signals while you check the lights.
If everything is working correctly, congratulations! You’ve learned how to replace boat trailer lights.
What to Do If You Encounter Problems?
If your lights are still not functioning correctly, you might encounter a few common issues:
- Fuses: Check the vehicle’s fuse box for any blown fuses related to the trailer lights.
- Corroded connectors: Inspect the connectors for corrosion and clean if necessary.
- Wiring issues: If the wires seem damaged, consider replacing them with new wiring harnesses.
How to Maintain Boat Trailer Lights?
Maintaining your boat trailer lights will prolong their lifespan and ensure safety. Here are some tips:
- Regularly check the lights: Inspect the lights before each trip.
- Clean the connections: Remove dirt and debris to prevent corrosion.
- Lubricate the housing: Use a silicone spray to keep the housing water-proof and prevent rust.
Conclusion
Now you know how to replace boat trailer lights efficiently and effectively. Proper maintenance and prompt replacement can ensure safe travels on the road.
Always prioritize safety by conducting regular checks on your trailer’s lighting system. Invest in reliable products and don’t hesitate to consult a professional if needed. With these skills, you can keep your boat trailer lights in excellent working condition and enjoy many successful adventures on the water.