If you’re wondering how to install a bilge pump switch, you’ve come to the right place. A float switch is an essential component of a bilge pump system, ensuring that it activates when water levels rise, preventing potential damage to your boat. This guide will provide you with step-by-step instructions, tips, and important safety considerations.
What is a Float Switch?
A float switch is a device that floats on water and detects the water level.
When the water in the bilge reaches a predetermined height, the float rises, activating the bilge pump to remove excess water.
Understanding how to install a bilge pump switch enables better maintenance and protection for your vessel.
Why Should You Install a Float Switch?
Installing a float switch in your bilge pump is essential for several reasons:
- Automatic Operation: The float switch allows your bilge pump to operate automatically, ensuring water is removed without manual intervention.
- Prevent Damage: By removing excess water, the float switch helps prevent potential damage to your boat’s hull and electrical systems.
- Enhance Safety: Keeping the bilge dry minimizes the risk of capsizing due to excess water accumulation.
What Materials Do You Need?
Before learning how to install a bilge pump switch, gather the necessary materials. Here’s a list to get you started:
- Float switch
- Bilge pump
- Wire connectors
- Wiring (preferably marine-grade)
- Fuse
- Screwdriver
- Drill
- Sealant
- Electrical tape
- Wire strippers
How Do You Prepare for Installation?
Preparation is key when installing a bilge pump switch. Follow these steps to ensure a smooth installation process:
-
Identify the Location:
– Choose a suitable location in the bilge area.
– The float switch should be installed in a position that allows for the best water detection and flow to the pump. -
Turn Off Power:
– Safety first! Always disconnect the power supply from the bilge pump before starting the installation. -
Check for Obstructions:
– Make sure there are no obstructions that could hinder the float’s movement.
– Clear the area of debris and old wiring.
How to Install a Bilge Pump Switch?
Now that you’re prepared, let’s go through the step-by-step process of how to install a bilge pump switch:
1. Mounting the Float Switch
- Choose the height: The float switch should be installed at a height that allows the bilge pump to activate before water levels become critical.
- Use sealant: Apply waterproof sealant on the mounting base to secure it in place under the surface you’ve chosen.
- Secure the switch: Use screws to securely mount the float switch on the base.
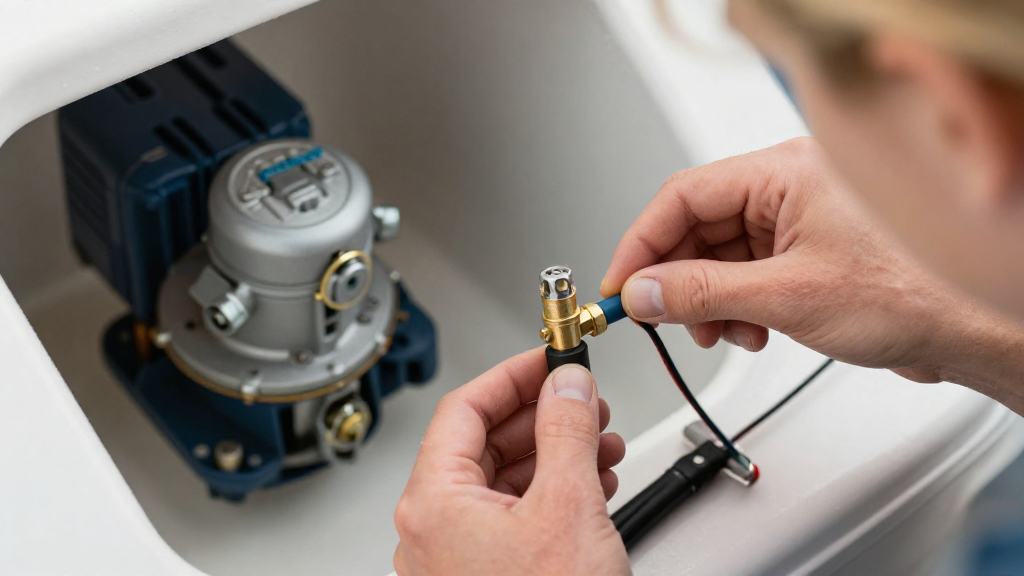
2. Wiring the Float Switch
After mounting the float switch, you need to wire it correctly:
-
Strip the Wires:
– Use wire strippers to remove about half an inch of insulation from both ends of the wires. -
Connect the Wires:
– Connect the float switch lead to the bilge pump’s positive terminal.
– Connect the negative terminal of the bilge pump to the boat’s battery negative.
– Use waterproof wire connectors to secure these connections. -
Install a Fuse:
– It is vital to install a fuse in the circuit to prevent overload.
– Connect the fuse holder inline with the positive lead of the bilge pump.
3. Testing the Float Switch
After you’ve completed the wiring for the float switch, it’s time to put it to the test:
- Reconnect Power: Turn the power supply back on.
- Test the Float Mechanism: Manually lift the float switch to simulate a high water level.
- Confirm Activation: Ensure that the bilge pump activates as intended.
What Maintenance is Required After Installation?
Understanding how to install a bilge pump switch is only part of the process. You should also plan for regular maintenance to ensure longevity:
- Inspect Regularly: Periodically check the float switch and bilge pump for signs of wear and tear.
- Clean the Area: Remove any debris or buildup around the float switch to ensure it operates smoothly.
- Test Functionality: Regularly test both the float switch and the bilge pump to ensure they are working correctly.
What Should You Keep in Mind During Installation?
While installing a bilge pump switch, here are some critical considerations to keep in mind:
- Follow Manufacturer Instructions: Always refer to the float switch and bilge pump manufacturer’s guidelines for proper installation.
- Be Mindful of Weight: Avoid overloading the bilge area with equipment, as it can affect water flow and the performance of the switch.
- Stay Safe: If you’re uncertain about any step in the installation process, consult a marine electrician or professional for assistance.
Conclusion
In conclusion, learning how to install a bilge pump switch is an invaluable skill for any boat owner.
By installing a float switch, you can automatically manage excess water, ensuring your boat remains safe and functional.
With the right materials and attention to detail during installation, your bilge pump system will serve you well for years to come.
Remember to perform regular maintenance and testing to keep everything running smoothly.
Your boat deserves the best protection, so start your installation today!