Installing a fish finder on your boat can significantly enhance your fishing experience.
By using advanced sonar technology, these devices help you locate fish and navigate more effectively.
In this guide, we’ll cover how to install a fish finder step by step.
Why Should You Install a Fish Finder?
Many boaters wonder whether a fish finder is worth the investment.
Here are some reasons:
- Fish Location: A fish finder uses sonar to identify where fish are swimming, increasing your chances of a good catch.
- Depth Measurement: It can measure water depth, helping prevent your boat from running aground.
- Structure and Vegetation: These devices show underwater structures and vegetation, which often attract fish.
- Water Temperature: Understanding water temperature can also affect your fishing success, and a fish finder can provide this information.
What Do You Need to Prepare for Installation?
Before diving into the installation process, you’ll need to gather your tools and materials.
Here’s a checklist:
- Fish Finder Unit: Ensure you have the model you wish to install.
- Mounting Bracket: Most fish finders come with a mounting bracket; make sure it’s compatible.
- Power Cable: This connects your fish finder to the boat’s battery.
- Transducer: This is the sensor that sends and receives sonar signals.
- Tools: Such as a drill, screwdriver, and basic hand tools.
- Sealant: A waterproof sealant is essential for protecting any exposed wires.
How to Install a Fish Finder: What Are the Steps?
Step 1: Choose the Best Location
Choosing the right location to install your fish finder is crucial for optimal performance.
Consider the following:
- Visibility: Ensure the screen is visible from your typical seating position.
- Accessibility: Mounting it near a power source will make installation easier.
- Transducer Placement: The transducer needs to be at the water line for the most effective reading.
Step 2: Mount the Display
Now that you’ve chosen your location, it’s time to mount the display.
Follow these steps:
- Position the Bracket: Hold the mounting bracket against the surface where you’ve chosen to mount it.
- Mark the Holes: Using a pencil or marker, mark where you will drill the holes for the screws.
- Drill: Carefully drill into the marked spots.
- Attach the Bracket: Place the bracket over the holes and secure it with screws.
- Attach the Display: Slide your fish finder onto the bracket as instructed by the manufacturer’s guide.
Step 3: Install the Transducer
Installing the transducer correctly is vital for accurate readings.
Here’s how to do it:
-
Choose the Mounting Method:
– Through-Hull: Best for permanent installations; it requires you to drill a hole in the hull.
– Transom-Mounted: This is easier and doesn’t require any drilling.
– Trolling Motor Mount: If you use a trolling motor, this is a great option. -
Position the Transducer: If using a transom mount, it should be installed below the water line with enough clearance.
- Secure with Screws: Make sure the transducer is angled correctly for optimal readings and fasten it securely.
- Run the Cables: Carefully run the cable from the transducer to the fish finder, avoiding any sharp edges.
Step 4: Connect the Power Supply
Connecting the power supply is more straightforward than it sounds.
Here’s a basic step-by-step:
- Identify Power Connection Points: Locate your boat’s battery and identify the positive and negative terminals.
- Connect Wires: Connect the wires from the fish finder to the corresponding terminals. Use a fuse to protect from overload.
- Secure the Wires: Use zip ties or electrical tape to secure any loose wiring and prevent tangling.
- Seal Connections: Use waterproof sealant on any exposed connections to protect them from corrosion.
Step 5: Test Your Installation
Once everything is installed, it’s crucial to test your work.
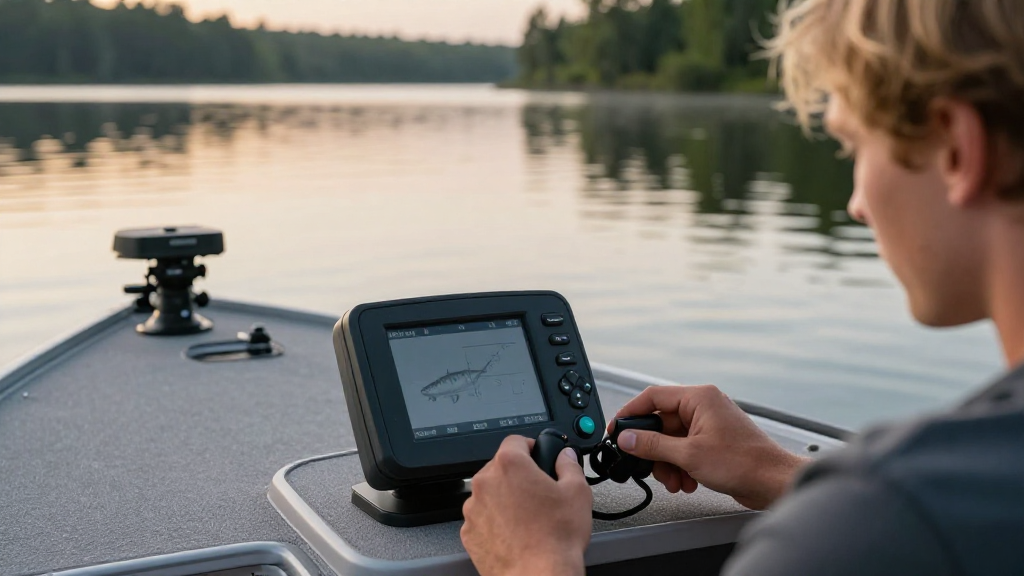
- Turn on the Fish Finder: Once you’re out on the water, power on your fish finder to see if it activates correctly.
- Check Readings: Make sure it shows accurate depth and sonar readings.
- Adjust Settings: Use the fish finder configuration settings to fine-tune the display for your specific boating conditions.
What Are Common Installation Mistakes to Avoid?
Even seasoned boaters can make a few missteps during installation.
Here is a list of common mistakes:
- Poor Mounting Locations: Avoid mounting in places with personal interference or poor visibility.
- Incorrect Wire Connections: Double-check that connections are correct to avoid damage.
- Ignoring Manufacturer Instructions: Always follow the specific installation guide included with your device.
- Insufficient Sealant: Make sure all exposed wires are adequately sealed against water to prevent corrosion.
How Can You Maintain Your Fish Finder?
To ensure long-lasting functionality, regular maintenance is key.
Follow these simple tips:
- Clean the Transducer: Regularly check the transducer for debris or algae that may obstruct readings.
- Check Wiring: Inspect the wiring and connections periodically for signs of wear or corrosion.
- Software Updates: If your fish finder has software, check the manufacturer’s website for updates that can enhance performance.
- Store Properly: If removing it for storage, protect it from extreme temperatures and rough handling.
Conclusion: Ready to Enhance Your Fishing Trip?
Now that you know how to install a fish finder, you can enjoy a more successful fishing experience.
Remember to take your time during the installation process and double-check each step for accuracy.
A well-installed fish finder can revolutionize the way you approach fishing, allowing you to locate fish quickly and navigate with confidence.
So gear up, install your fish finder correctly, and get ready to reel in those big catches!
Now with your fish finder set up and ready, you can experience all the benefits it brings to your boating and fishing adventures. Happy fishing!