If you’ve ever wondered how to install a livewell on a boat, you’re in the right place. A livewell system is essential for maintaining the health of your catch while fishing, ensuring that your fish stay alive and fresh until you’re ready to bring them home.
What is a Livewell System?
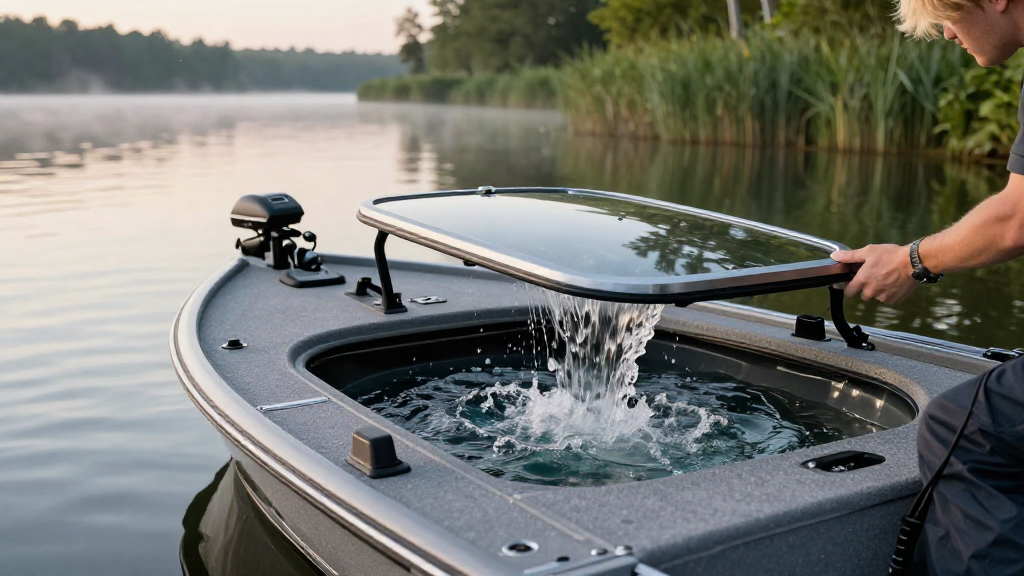
A livewell system is a specialized tank onboard a boat that keeps fish alive in water.
The system circulates water to provide a suitable environment for the fish, typically incorporating aeration and filtration systems.
This keeps your catch fresh during long days on the water.
Why Do You Need a Livewell on Your Boat?
There are several compelling reasons to install a livewell system:
-
Catch Preservation: It keeps your fish alive, improving quality.
-
Convenience: You can store multiple fish, making it easier to handle your catch without compromising their health.
-
Regulatory Compliance: Some fishing regulations require livewells if you plan to fish certain species.
Now that you understand why a livewell system is beneficial, let’s dive into how to install a livewell on a boat.
What Tools and Materials Do You Need?
Before you start your installation project, gathering all necessary tools and materials is essential.
Here’s a list to help you get started:
Tools:
- Drill: For creating holes in the boat.
- Screwdriver: To secure fittings.
- Wrench: For tightening connections.
- Utility Knife: For cutting hoses.
Materials:
- Livewell Tank: Choose a size based on the space available and the fish you plan to catch.
- Pump: A recirculation pump is necessary for water circulation.
- Plumbing Fittings: Use quality fittings to prevent leaks.
- Hoses: Flexible hoses for easy routing.
- Aerator: Keeps the water oxygenated.
How Do You Choose the Right Location for the Livewell?
Choosing the right location for your livewell is crucial for effective installation and performance.
You’ll want a location that is:
-
Accessible: Easy to operate and check on your fish.
-
Near a Water Source: This makes it easier to fill and maintain.
-
Stable: A place where the livewell won’t be subjected to excessive movement during rough seas.
Once you’ve chosen the location, mark the area for installation.
Remember, you may need to drill holes for plumbing, so ensure there are no obstructions behind the area you’re working on.
How to Install a Livewell on a Boat: Step-by-Step Guide
Step 1: Preparing the Area
Clear the area of any obstacles to ensure you have enough space to work efficiently.
Step 2: Fitting the Livewell Tank
-
Place the Tank: Position the livewell tank in your chosen location.
-
Mark the Holes: Use a pencil to mark the spots where you’ll drill holes for the pump and fittings.
Step 3: Drilling Holes
Use the drill to create holes in the boat.
-
For Pump Installation: This will be for the inlet and outlet of the pump.
-
For Overflow: Drill a hole higher than the water level in the tank to prevent spillage.
Note: Ensure to use marine-grade sealants around the drilled holes to prevent leaks.
Step 4: Installing the Pump
- Attach the Pump: Connect it to the livewell tank using the plumbing fittings.
- Ensure Tight Connections: Use your wrench to tighten all fittings, preventing any leaks during operation.
Step 5: Connecting the Hoses
-
Inlet Hose: Connect one end of the hose to the inlet of the pump and the other end to the water source.
-
Outlet Hose: Attach the outlet hose to the livewell, allowing for proper water circulation.
Step 6: Aerator Installation
Install the aerator according to the manufacturer’s instructions.
Make sure it’s submerged below the waterline to ensure effective oxygenation.
Step 7: Final Checks
Before filling the livewell:
-
Check for Leaks: Turn on the pump and check for any leaks or issues in the connections.
-
Test the System: Fill the tank with water and observe the aerator in action.
If everything appears to be functioning correctly, you’ve successfully learned how to install a livewell on a boat!
How Do You Maintain Your Livewell System?
To ensure your livewell operates at peak performance, regular maintenance is essential.
Here are some tips:
-
Routine Cleaning: Empty and clean the tank regularly to avoid algae and bacteria buildup.
-
Pump Check: Regularly check your pump to ensure it’s operating effectively.
-
Inspect Fittings: Look for leaks or wear in your plumbing connections.
Additional Tips for Successful Livewell Use
-
Water Quality: Always use clean water in your livewell. Consider adding products to improve the water quality.
-
Temperature Control: Fish thrive in cooler water. Keep your livewell out of direct sunlight if possible.
-
Release Stress: Minimize handling time when putting fish into the livewell to reduce stress.
Conclusion: Enjoy Your Fishing Experience!
Installing a livewell system on your boat is a rewarding and practical project.
By following this guide on how to install a livewell on a boat, you’ll enhance your fishing trips and maintain better fish quality.
Make sure to conduct regular maintenance on your livewell to ensure it stays clean and effective for all your future fishing adventures.
With these steps, you’re now equipped to install a livewell on your boat and enjoy all the benefits it brings!
Happy fishing!